
StandBy is a new feature for iPhones and it's excellent. To get access to StandBy, you need to have a compatible iPhone running on iOS 17 and your iPhone needs to be charging and in a landscape orientation. The feature then turns your iPhone's display into a small smart display, similar to the Google Nest Hub and Amazon Echo Show, offering glanceable information like the date, time and useful widgets. It will also show you your photos if you select that screen.
StandBy is switched on by default, but that doesn't mean you have to stick to the default settings offered. There are plenty of customisation options available for StandBy so if you want to change things up, follow our steps below and we'll help you get the most out of the feature.
- Put your iPhone into StandBy mode by placing it on charge and turning it into a landscape orientation
- Swipe between the screens to get to the one you want to change
- Press and hold on a clock or widget to change, as you would apps on your iPhone home screen
- Enter your iPhone's passcode or authenticate with Face ID or Touch ID
From here, it depends on what you are choosing to customise as to what the following steps are. We've therefore detailed the three sections individually below to give you a better understanding of what you can and can't do with StandBy and how to get the look you want.

How to add and change the widgets on StandBy
The first main screen on StandBy is a combination of a clock on the left and widgets on the right by default, though both can be set to a Smart Stack, each offering a group of widgets. Smart Stack widgets on StandBy work in the same way as on your iPhone home screen. They are interactive so you can mark off to do items in Reminders for example, or swipe through the different widgets for more information without having to unlock your phone or take it off charge. Follow these steps to add or change widgets on StandBy:
- Press and hold on the existing widget on either the left or right of the main StandBy screen
- Unlock your iPhone with Face ID, Touch ID or your passcode
- Tap on the '-' icon next to a wiggling widget to remove it from a Smart Stack
- Tap on the '+' icon in the top left corner of the screen to add a widget
- Find a widget you want to add and press 'Add Widget'
- Press 'Done' in the top right corner
The current widgets available to add to StandBy include:
- Suggestions
- App Store
- Batteries
- Books
- Calendar
- Clock
- Contacts
- Find My
- Home
- Maps
- Music
- News
- Notes
- Photos
- Podcasts
- Reminders
- Safari
- Screen Time
- Stocks
- Tips
- TV
- Wallet
- Weather
You can also tap on 'Other' at the bottom of the widget list to reveal Fitness, Game Center and Sleep, though these three aren't currently optimised for StandBy. They still work though.
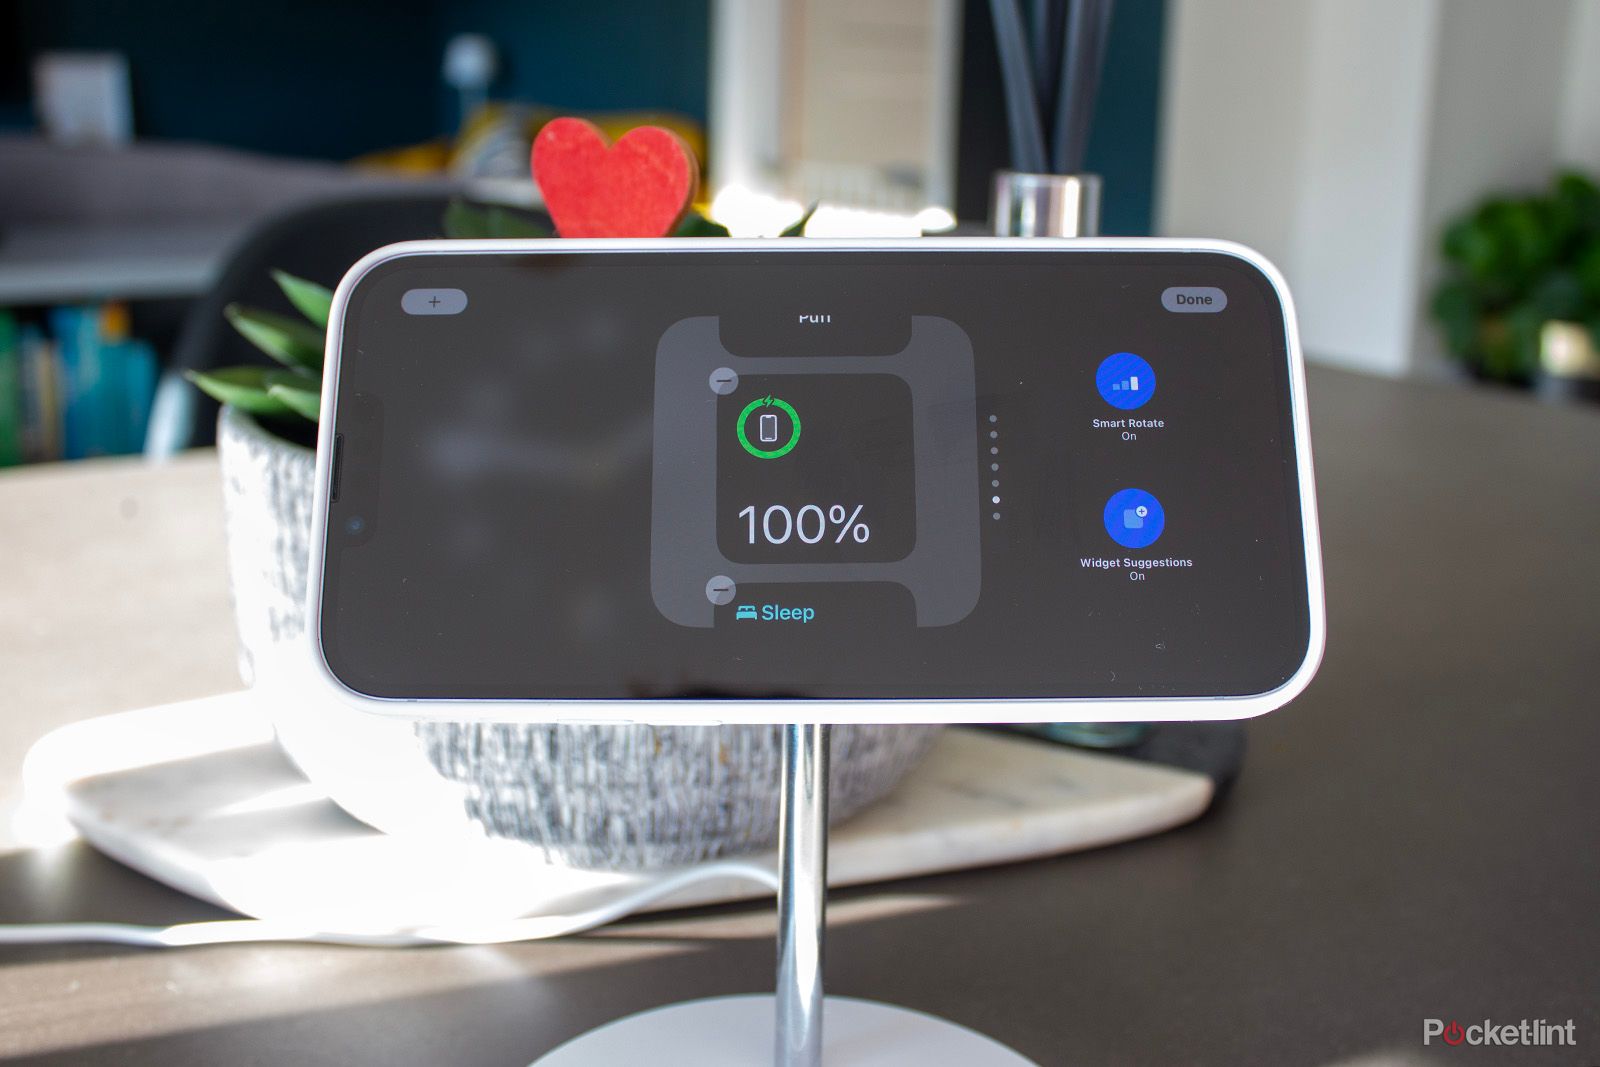
When you press and hold one of the widgets on the main StandBy screen, you can also choose to turn Smart Rotate on or off, as well as turn Widget Suggestions off or on.

How to change the Photos screen on StandBy and add your best photos
The Photos screen on StandBy is the second main screen as you swipe right to left. It allows you to swipe between four photo options by default: Featured, Nature, Cities and People. To see the different options, just swipe up when you hit the Photos screen. To edit this screen, press and hold the main Photos screen in StandBy and unlock your phone.
If you don't want to see one of the main four categories, you can turn them off by tapping on the eye icon in the top left corner of the category. It means you can stop all pictures of cities appearing on the Photos screen on StandBy, for example.
You can't hide specific photos in your photo library (unless they are in your hidden photos album) though you can stop specific people appearing. On the People category within the edit screen for Photos, tap on the two-person icon in the bottom right corner and untick the people you don't want to appear.

You can also add an album to the Photos screen in StandBy. It has to be an album rather than individual photos. To do this, first create an album in the Photos app of your iPhone and then when you're in the edit screen of the Photos section for StandBy, tap on the '+' in the top left corner and tap on the album you want to display.
How to change the clock in StandBy
The third main screen of StandBy is a clock. There are five clock options you can choose between: Analogue, Digital, World, Solar and Float. Analogue, Digital, Solar and Float all have additional customisation options. Press and hold on the main clock face in StandBy mode to edit each. You can swipe through them in this view too, but if you want to change each one specifically, you'll want to tap on the white circle in the bottom right corner of each option.

For Analogue, you can change the colour of the second hand and the day of the date. For Digital, you can change the colour of the entire time and the day of the date. For Solar, changing the colour will change the entire background and time stamp. Finally, for Float, the time stamp will change but the background colour will remain black. Remember to hit 'Done' in the top right corner when you're finished.
How to customise notifications on StandBy
By default, notifications show up on StandBy so when you receive a Message for example, it will appear rather largely on the screen. You can turn notifications on StandBy off entirely - though some critical ones will still appear - or you can turn off notification previews so they only appear when you tap.
To adjust notifications on StandBy: Open Settings on your iPhone > StandBy > Show Notifications > Toggle on or off.
To adjust notification previews on StandBy: Open Settings on your iPhone > StandBy > Show Preview on Tap Only > Toggle on or off.